Oracle BI-Extract Employee Photo using Dynamic Blob
On a normal day for the HRBP, would not be nice for him/her to have the Profile photo of all employees so it would be nice to communicate with them in personalized mail on inviting them for special occasions or recognize them for their brilliant efforts.
But how they can extract all the Pic or documents of the employee? Via Oracle BI using Dynamic Blob.
BI Publisher (Oracle Business Intelligence Publisher) is a powerful reporting tool. The one main unexplored update on BI Report includes pixel-perfect reports, interactive reports, and personalized documents. This capability empowers HRBPs to go beyond standard communication methods and establish deeper connections with employees. The combination of pixel-perfect reports, interactive elements, and personalized content elevates the quality of communication and engagement within the organization.
In this blog, let us explore the scenario of generating a personalized document that is easy to use, including photos of the employees, and using the bursting feature to send them to the employees for their birthdays or anniversaries.
Here are the steps to generate a BI report for an employee profile using Dynamic Blob:
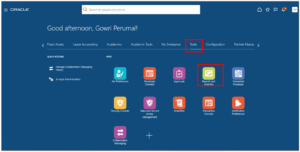
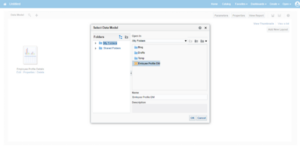
STEP 1: To create a data model, Navigate Tools -> Report and Analytics.
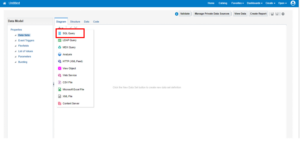
STEP 2: Click on CREATE in the Top Right corner, select ‘Data Model’, and Choose SQL Query Option.
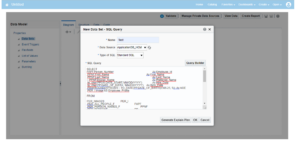
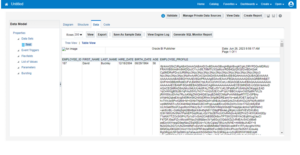
STEP 3: Write a SQL Query to get employee profile details from the PER_IMAGES table.
STEP 4: When we run this SQL query, the Output will be shown as below.
We must click on EXPORT to download the result in an XML File.
STEP 5: Create an RTF template with the fields mentioned in SQL Query (Data Model).
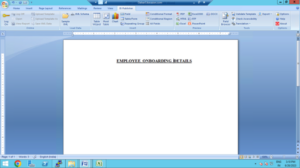
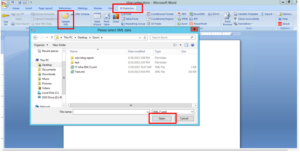
STEP 6: While creating the RTF file, Click on BI Publisher –> Sample XML –> Dialog box opens.
Open the XML file downloaded by running the SQL query in STEP 4.
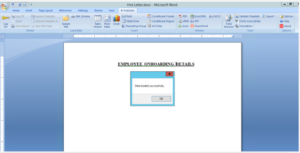
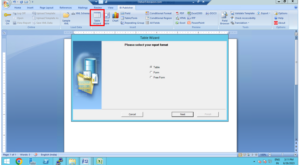
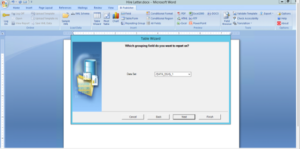
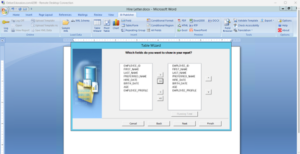
Step 7: Once the XML file is connected, we must add a table by using the table wizard and continue the process – select the fields to be displayed on the report.

Step 8: Now the template is ready for the report generation.
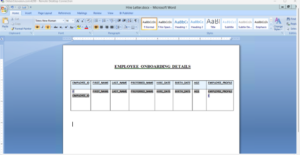
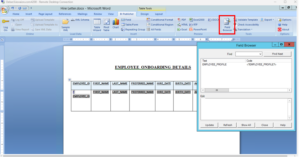
Click on Field Browser, to give a syntax for the employee profile.
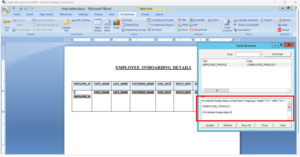
Step 9: This is the last column that we want to display as an image. So, we must use a syntax called “fo: instream.”
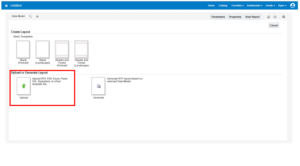
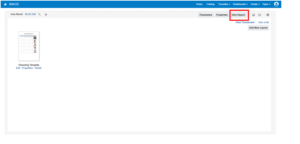
Step 10: Now the generated RTF layout file needs to be uploaded.
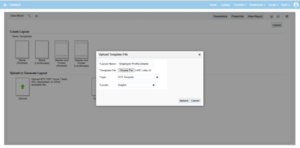
Step 11: While uploading the layout file, we must fill in the layout name, choose an RTF template specify the type given as ‘RTF’ template, and choose locale as ‘English’.
Step 12: Once the RTF layout is uploaded, the data model needs to be linked with the report.
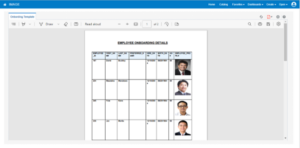
Step 13: Once the data model is linked, clicking on ‘View Report’ gives us the BI Report with Dynamic BLOB Image.
Bottom Line:
Oracle BI’s dynamic BLOB extraction empowers HRBPs to enhance communication, engagement, and recognition. Integrating employee profile photos into personalized documents allows for stronger connections, milestone celebrations, and improved satisfaction. This, coupled with Oracle BI Publisher’s features, transforms HR engagement by fostering appreciation and connectivity. The ability to generate personalized documents with photos and the bursting feature strengthens employee-organization bonds. This innovative approach through Oracle BI offers HRBPs new avenues to inspire, engage, and create a vibrant workplace.
Author: Gowri Perumal, Oracle Fusion Consultant